When you’re searching for planting season Arizona for vegetables like cucumbers, tomatoes, garlic, cantaloupe, cilantro or any other type of fruit or vegetable A&P Nursery can help! Our plant nurseries in Mesa, Gilbert, and Queen Creek are staffed with knowledgeable gardening expects who understand the unique challenges we face in the Phoenix Valley.
Arizona Spring Planting Season
“The secret to growing vegetables and fruit in Mesa, Arizona is knowing your planting seasons“, here’s a spring planting season guide to help you out!
Timing is one of the biggest mistakes new gardeners in Arizona make. The seasons in Arizona are much different than those in (Wisconsin for example, their spring season is more like autumn in AZ).
New gardeners in Mesa Arizona tend to make the mistake of planting the wrong vegetable at the wrong time.
Everyone has their own vision of a victory garden but growing vegetables in the Arizona desert can be a tough task for those who forget about Arizona’s planting cycle.
For example: gardeners in other states usually plant tomatoes in May, for Arizona, this could be the worst mistake you make. Your tomatoes will surely be dead by July due to Arizona’s 110+ heat in the summer. The Midwest planting cycle doesn’t work for the desert.
Vegetable Planting Calendar Guide for Arizona
Here’s a list of common vegetables and the best time to get them in the ground.
 Vegetables to Plant in February – Parsley, Fennel, Dill, Cilantro, Spinach, Rutabaga, Radishes, Potatoes, Peas (snap, shell, snow), Lettuce, Collards, Chard, Carrots, Bok Choy and Beets.
 Vegetables to Plant in March – Dill, Cilantro, Watermelon, Spinach, Radishes, Peanuts, Melons, Corn, Carrots, Beets, Beans (snap).
 Vegetables to Plant in April – Dill, Cilantro, Watermelon, Summer Squash, Spinach, Scallions, Radishes, Peas (southern), Peanuts, Okra, Melons, Cucumbers, corn, Carrots, Cantaloupe, Beans (snap).
 Vegetables to Plant in May – Cilantro, Watermelon, Scallions, Radishes, Peas (southern), Peanuts, Okra, Melons, Gourds, Cucumber, Corn, Cantaloupe, Beans (snap).
 Vegetables to Plant in June – Cilantro, Watermelon, Peas (southern), Peanuts, Okra, Melons, Gourds, Cucumber, Corn, Cantaloupe, Beans.
 Vegetables to Plant in July – Dill, Cilantro, Basil, Squash (summer and winter), Pumpkin, Peas (southern), Melons, Cucumber, Corn, Cantaloupe, Beans.
 Vegetables to Plant in August – Dill, Cilantro, Basil, Turnip, Spinach, Rutabaga, Radish, Peas, Onions, Mustard, Lettuce, Kohlrabi, Kale, Cucumbers, Corn, Collards, Chinese Cabbage, Chard, Carrots, Beets, Bean (bush and snap).
 Vegetables to Plant in September – Parsley, Dill, Cilantro, Turnip, Spinach, Rutabaga, Radish, Peas, Parsnip, Onions, Mustard, Lettuce, Leeks, Kohlrabi, Kale, Escarole/Endive, Collards, Chinese Cabbage, Chard, Carrots, Pac Choi, Bok Choy, Beet, Arugula.
 Vegetables to Plant in October – Spinach, Shallots, Onions, Mache, Garlic, Arugula.
Here’s 10 Tips for Gardening In Mesa, Arizona’s Spring Planting Season Guide
Know your Timing & Planting Seasons
Fall and Spring are Mesa Arizona’s 2 distinct growing seasons. Both seasons have specific vegetables that grown best in warmer or colder temperatures.
Gardeners from the Midwest or East part of the US should try to think of Arizona summers as winter time. This is not the time to sow seeds. Summer is by far the harshest season in Mesa. But unlike other parts of the US, vegetables can grow in the summer in AZ in you plant early enough in the spring and chose the right type of warmer-weather vegetables.
Go to https://apnursery.com/blog/garden-planting-schedule/ for when and what to plant.
1. Location, Location, Location
Location matters in vegetable growing just like location matters in real estate. Make sure and pick the right spots for growing, too much shade will keep from growing and too much sun can kill your vegetables.
2. Adequate Sunlight
Vegetable plants need at least 6-8 hrs of sunlight every day. It’s easy to have too much sunlight than it is to have too much shade. You can always purchase shade close which is very inexpensive but you can’t buy sunlight so make sure and plant your vegetables in a place where they can get the 6-8 hours of light they need and if it’s too much, add the shade cloth.
3. Bed Size
Start small. Even the most experienced gardeners can become frustrated when raising vegetables in Arizona. They take a while to get accustomed to the demands and rhythms of the Desert climate.
Start with a 4X4 raised bed. Many local plant and garden nurseries sell readymade beds. You can also construct one yourself. Other gardeners recommend digging garden beds instead of raised ones because your are using the natural soil and will avoid build-up of salt typically associated with raised beds.
4. Soil Types
Arizona soil has lots of miners but almost no organic matter. Most gardeners in AZ recommend a blend of 50-50 mixture of compost and native AZ soil. Local plant nurseries sell compost mixtures. IF you are digging your own garden, water the spot first to soften the soil and then add in your compost material.
5. Watering
Most vegetables need to be watered at least one foot deep. A good way to check the water depth is by using a screw driver. You may think your plants need more water than they do due to the dry climate but this can be just as harmful as under watering them. Plants with too much water lose oxygen. Giving them too much water can cause diseases to your vegetable and surrounding plants.
6. Master Gardener Hotline
Keep this number in your contact list: 602-827-8200, ext. 301. This master gardener hotline is operated by master gardeners who are volunteers and it may take up to 48 hours to get a response from them.
7. Selecting Plants
Pay attention to the variety of plants you are choosing and if they are appropriate for the current season in which you are growing in. Dont plant tomatoes too late in the spring season because they take at least 90 days to produce fruit. You would be harvesting your tomatoes in 110+ heat. If you plan on planting in March, make sure and choose varieties of tomatoes that take 45-60 days to harvest.
8. Harvest Time Pacing
Due to the 2 growing seasons in Arizona, you can pace their harvest time.
It may be getting too late to plant lettuce in August, you can plant every two weeks to ensure you will have a continual harvest in the spring season.
9. Yield And Scale
Use plants that don’t take up a lot of space, unless your family likes watermelons of course. Expecially do this if you are starting a small garden. You can also space out your planting so that you and your family will have a continuous harvest of the fruit or vegetable of your liking.
Thank you for visiting, we hope you enjoyed out top 10 Tips for Gardening In Mesa, Arizona’s Spring Planting Season Guide.
Nursery & Gardening Supplies
If you’re thinking about starting a new garden or want to improve one you’ve already started A&P Nursery can help! Let our team help you select the best plants and seeds to get your garden thriving. Whether you are looking for purely display type plants or want to grow your own produce, we can help!


 A&P Moisture Mulch
 Bedding Plant Food
 Fruit, Citrus and Pecan Tree Food
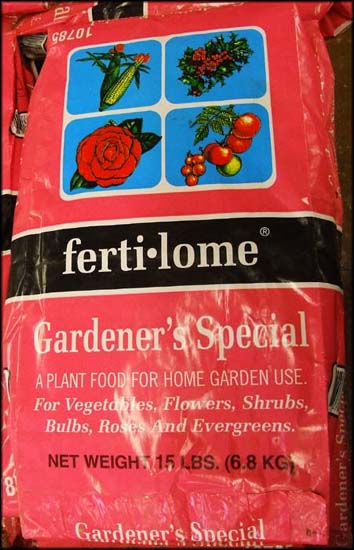
 Gardener’s Special
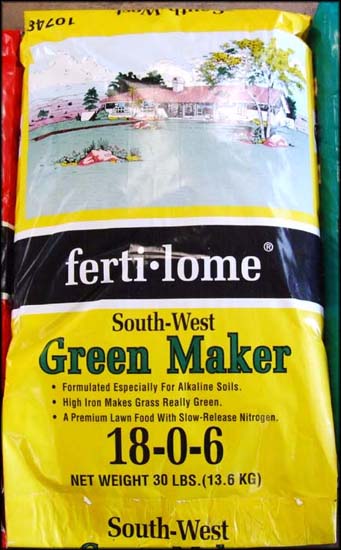
 Green Maker
 New Lawn Starter
 Palm Tree Food
 Root Stimulator
 Tree & Shrub Food
 Weed-Out Lawn Fertilizer